En este bloque vamos a empezar a trabajar con arduino.

Los pines digitales estarían en este caso en la parte superior y serían los pines 13,12,11.10...
Son 14 numerados del 0 al 13.

Para este bloque vamos a utilizar el programa de arduino, el cual también utiliza java y es parecido a processing. Las funciones son prácticamente iguales a la de processing.
En cuanto a los sensores que utilizamos son:
-Leds
-Motores
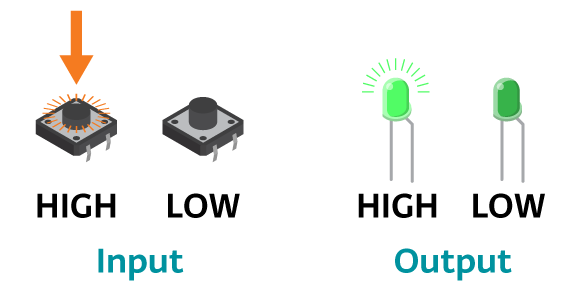
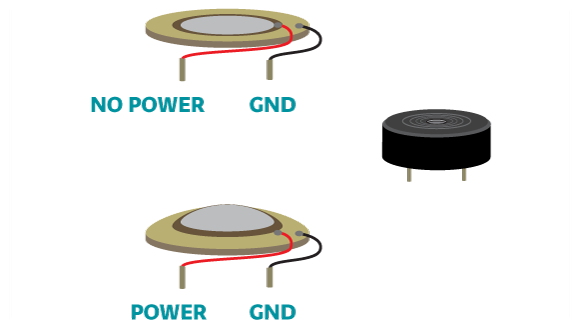
Los sensores serían los pulsadores principalmente (incluido en la imagen junto al led).
Estos elementos utilizan código binario para realizar sus funciones:

Aquí dejo un enlace para entender mejor este 2 apartado.
vídeos bloque 2
Ahora vamos a ver mi proyecto:
Simón dice:
En esta unidad hemos tratado el tema de arduino: la parte teórica de programación y la parte práctica con elementos reales. Nos hemos dividido en grupos de 3 personas y a cada equipo se le ha asignado un proyecto diferente. A mi equipo le ha tocado el juego de simón dice.
Para este trabajo vamos a necesitar:
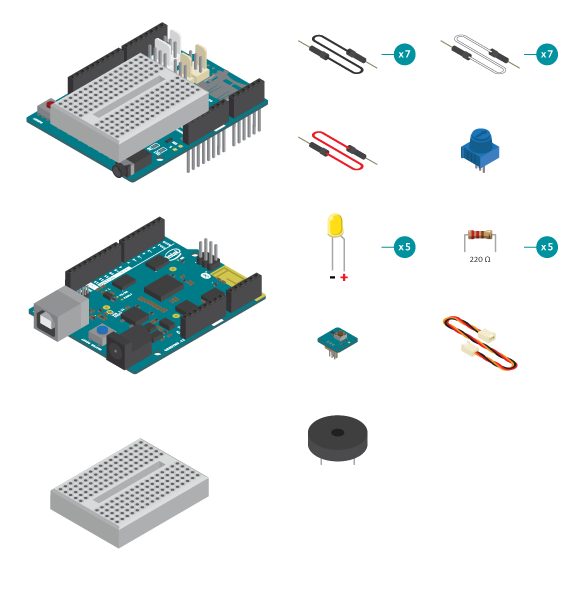
- 1 x placa controladora
- 1 x Shield Educativa
- 1 x breadboard
- 1 x módulo botón
- 1 x potenciómetro
- 1 x piezo
- 5 x LED
- 5 x resistencia 220 ohm
- 1 x cable de módulo
- 15 x cable de prototipado
-Conectar el shield en la parte superior de la placa controladora.
-Conecta 5 leds a través de puente de la breadboard externa.
-Conecta la resistencia de 220 ohm al pin digital 2. Conecta la resistencia al terminal positivo del primer led.
-Conecta cada pin digital con su led del mismo método.
-Conecta el terminal negativo a GND.
-Conecta el potenciómetro a la breadboard de la shield. Conecta el pin central al potenciómetro A0, el pin izquierdo a GND y el derecho a la alimentación.
-Conecta el piezo a través del puente de la breadboard. Conecta un terminal del piezo al pin digital 8 y el otro a GND.
-Conecta el módulo botón al conector D9 de la shield.
Hasta aquí llegaría la parte práctica, ahora vamos a por la teórica. A continuación citaremos los códigos necesarios:
/*
* SimonSays
*
* Test your memory with this game!
*
* LEDs will blink in a pattern that you have to remember and repeat.
* If you get it right, the game gets more and more challenging.
*
* (c) 2013-2016 Arduino LLC.
*/


#include <EducationShield.h>

/*
  An array of pin numbers to which LEDs are attached
  the defaults are 2 to 6 but you can choose any of the digital
  pins.
*/
int ledPins[] = {2, 3, 4, 5, 6};
int pinCount = 5;
VUMeter vuMeter;

Knob pot=Knob(A0);//a knob is connected to A0

Button button = Button(9); //a button is connected to port D9

Melody piezo=Melody(8);//a piezo is connected to digital pin 8

//Set the game parameters
int turns_begin=2;//a new game starts with 2 turns
int turns_max=10;//the most difficult game has 10 turns

int game[10];//array for storing the "simon says"
int turns=2;//for storing the number of turns in current game
int blinkTime=500;//how fast does "simon says" blink

void setup(){
  //initialize the components
  vuMeter.config(pinCount, ledPins);
  vuMeter.begin();
  pot.setLevels(5);
  button.begin();

  //Create a random seed, so we can call random() later.
  randomSeed(analogRead(A5));
}
void loop(){
  newGame();
  simonSays();
  delay(1000);
  getInputs();
}

void newGame(){
  vuMeter.blinkAll(200, 3);
  vuMeter.clear();
  delay(500);
  //Generate simon says, it'll be stored in an array
  //So we can compare with player's input later
  for(int i=0;i<turns;i++){
    game[i]=random(pinCount);
  }
}
void simonSays(){
  //Display simon says to the player.
  for(int i=0;i<turns;i++){
    vuMeter.on(game[i]);
    delay(blinkTime);
    vuMeter.off(game[i]);
    delay(blinkTime);
  }
}
void getInputs(){
  //Get "i" inputs where "i" matches the number of
  //simon says in this round.
  for(int i=0;i<turns;i++){
    int input;
    //button.released() stops the program, so
    //let's do it in short pulses, in between
    //we can change the vuMeter display.
    while(!button.released(10)){
     vuMeter.clear();
     vuMeter.on(pot.getLevel());
    }
    //When button is released, get the adjusted
    //value from the knob
    input=pot.getLevel();
    if(input==game[i]){
      //if your input is right, play a score sound
      //and continue.
      piezo.effect_score();
    }else{
      //Otherwise, gameover. Stop the function from
      //continuing by an empty return.
      gameOver();
      return ;
    }
  }
  //When all the inputs matched simon says, you win
  //this round and level up.
  delay(500);
  levelUp();
}
void gameOver(){
  //When it's gameover, difficutly resets
  turns=turns_begin;
  //And play the gameover sound
  piezo.effect_gameover();
}
void levelUp(){
  //When level up, adds more difficulty until it reaches maximum
  if(turns<turns_max){
    turns++;
  }
  //And play a wining sound
  piezo.effect_win();
{
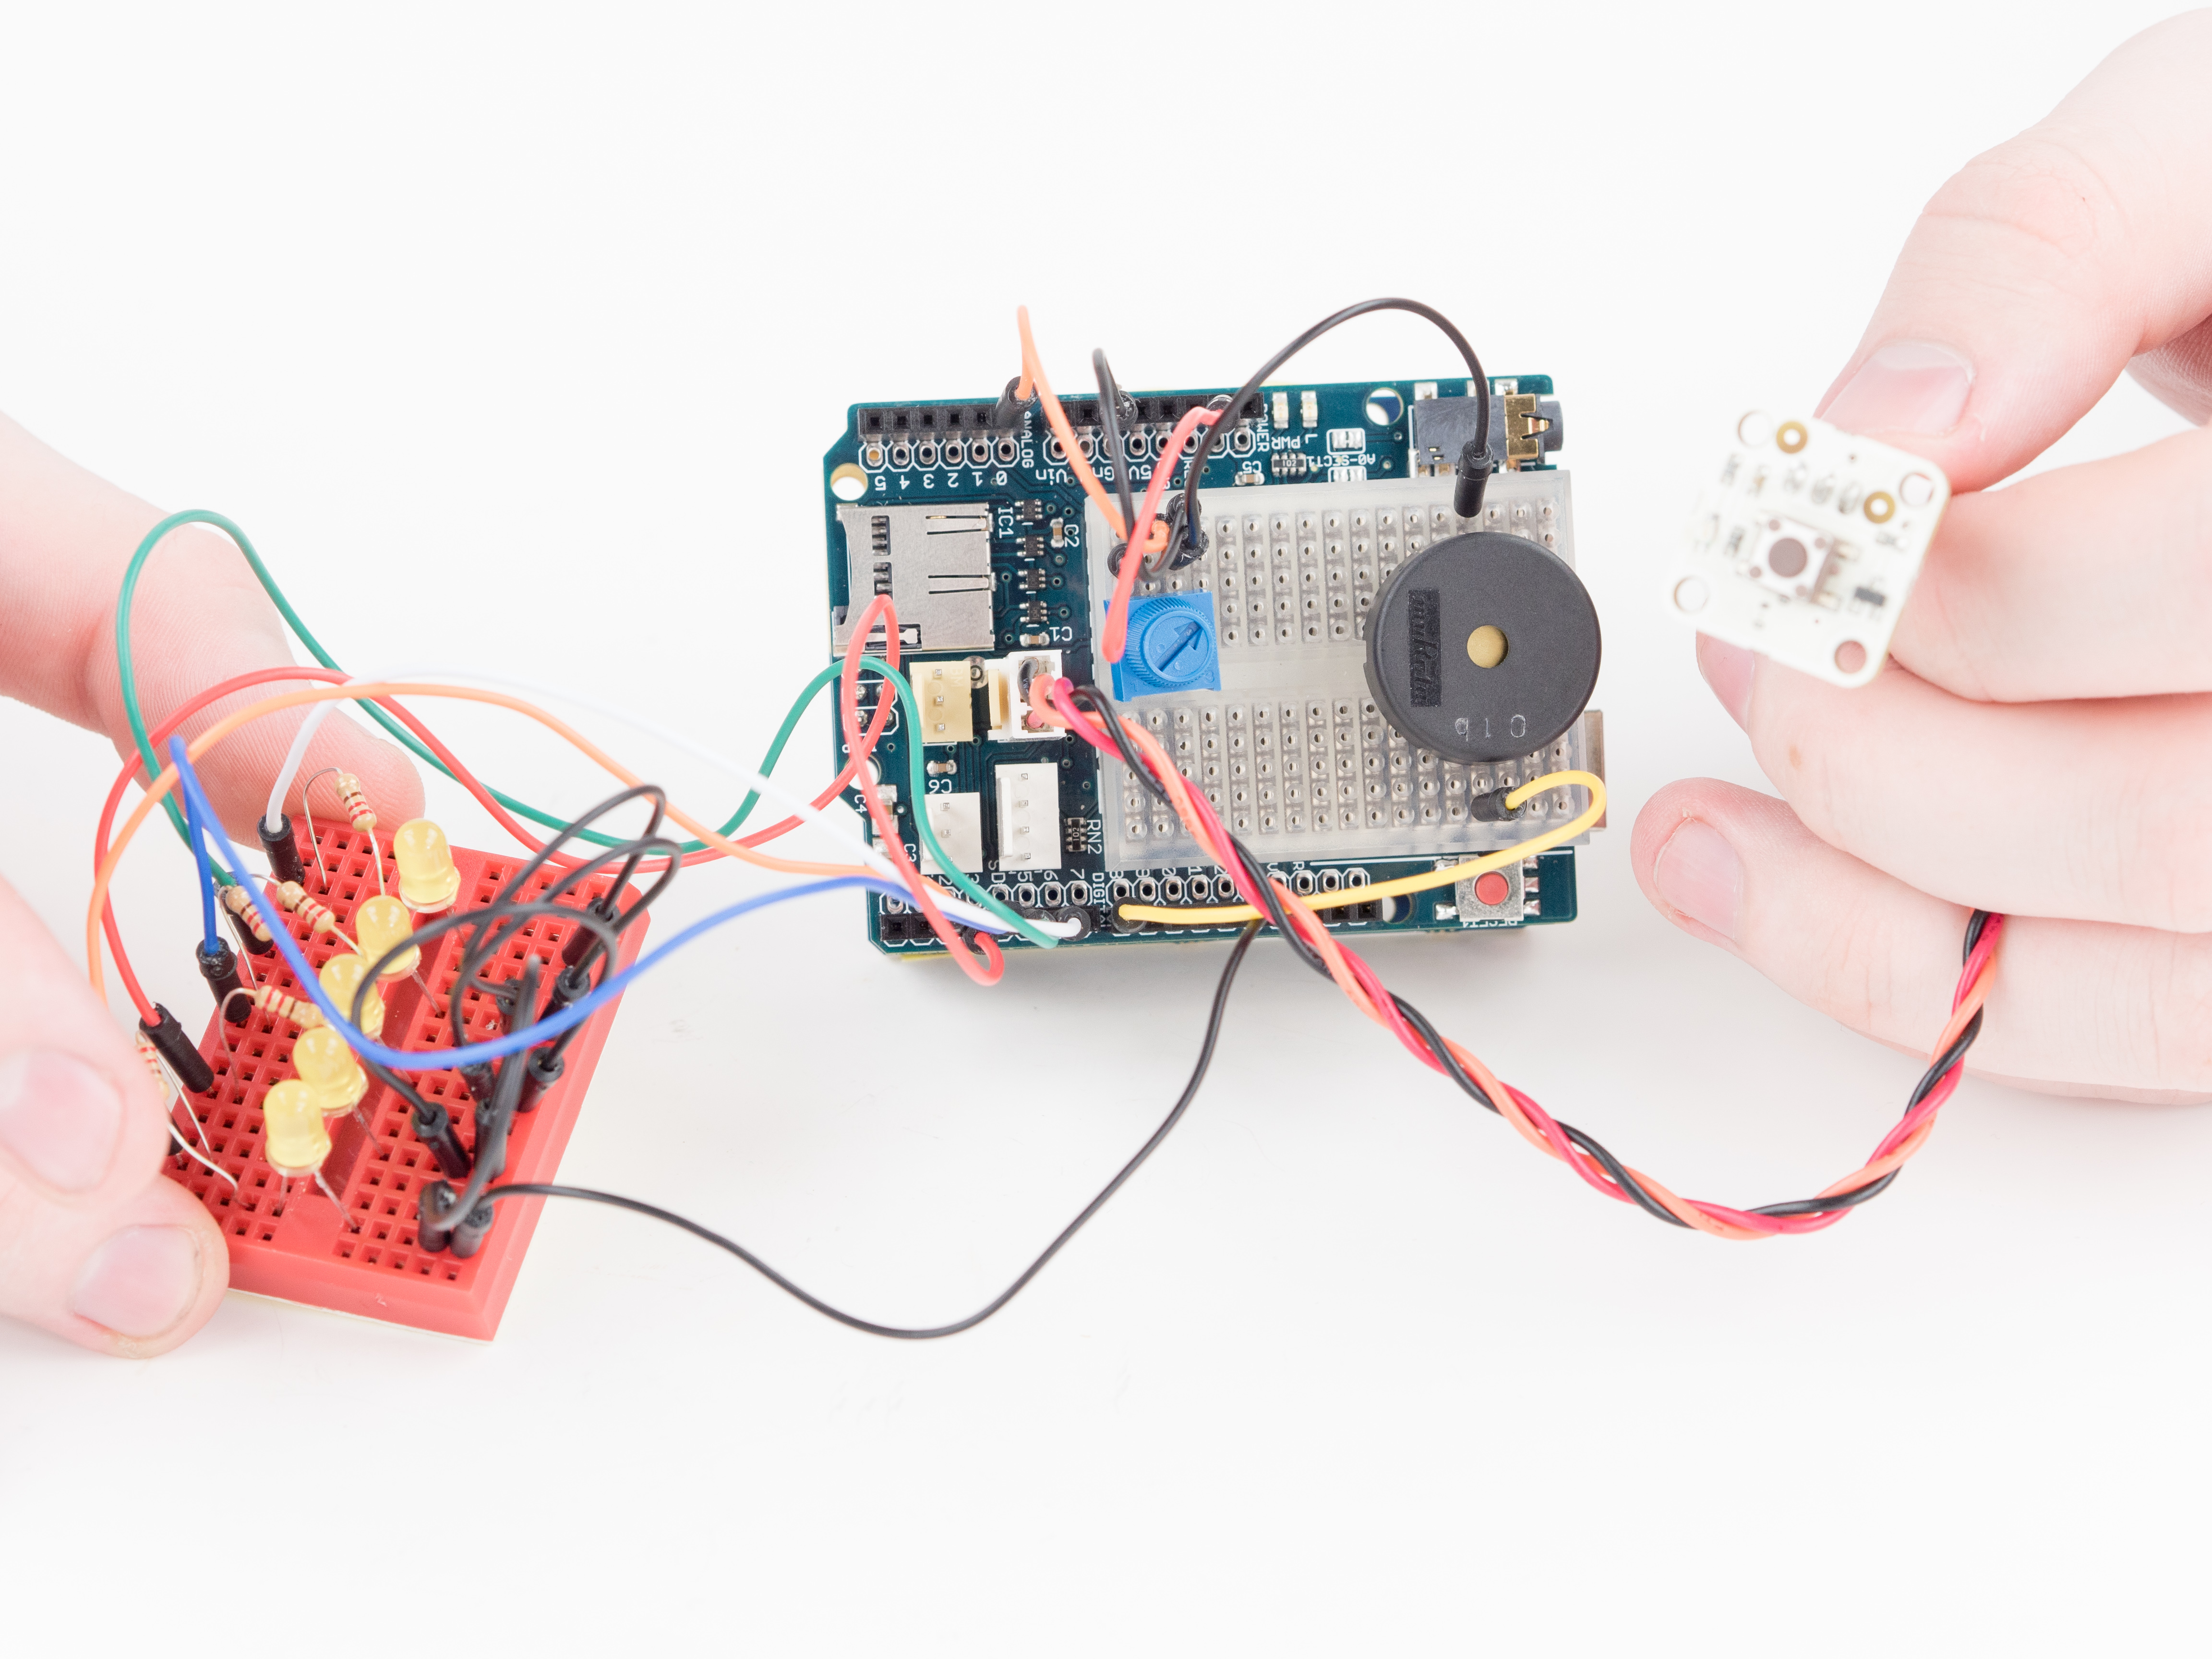
Esta sería el proyecto. Lo recomiendo ya que es muy dinámico, sencillo, divertido y entretenido para aprender esta parte del temario.


No hay comentarios:
Publicar un comentario